
- 01 Step 1: Skin Preparation
- 02 Step 2: Back to Base
- 03 Step 3: Conceal & Correct
- 04 Step 4: Set With Powder
- 05 Step 5: Eye Makeup (Perfecting Your Eye Look)
- 06 Step 6: Face, Cheeks & Lips (Add Dimension to Your Face)
- 07 Step 7: Setting Spray (Locking Your Makeup in Place)
- 08 To Touch it Up
- 09 Expert Tips for Extra Long-Lasting Makeup:
- 10 Meet The Experts:
- 11 FAQs
From the time you leave the house, have a hearty breakfast and head out for a day filled with office tasks or shopping lists (we all pick our own battles), till the time you're out for dinner and drinks – your makeup looks need to stay as committed as you are. And when you're the bride, the pressure is on a whole other level. It's not just about looking perfect from every angle, but about staying picture-ready through every event , every hour . From brunch to sangeet , your glam needs frequent touch-ups to stay flawless. That's why following the right steps for makeup—from prepping your skin to setting your look—is essential for long-lasting, camera-ready beauty. So, how do you make sure that your skin is glowing even at the afterparty? We asked two makeup experts who let us in on their secrets to achieving a long-lasting makeup look. The common consensus is that it's skin prep for the win. Dismantling the entire process, here are the steps for makeup, as guided by the professionals.
01Step 1: Skin Preparation
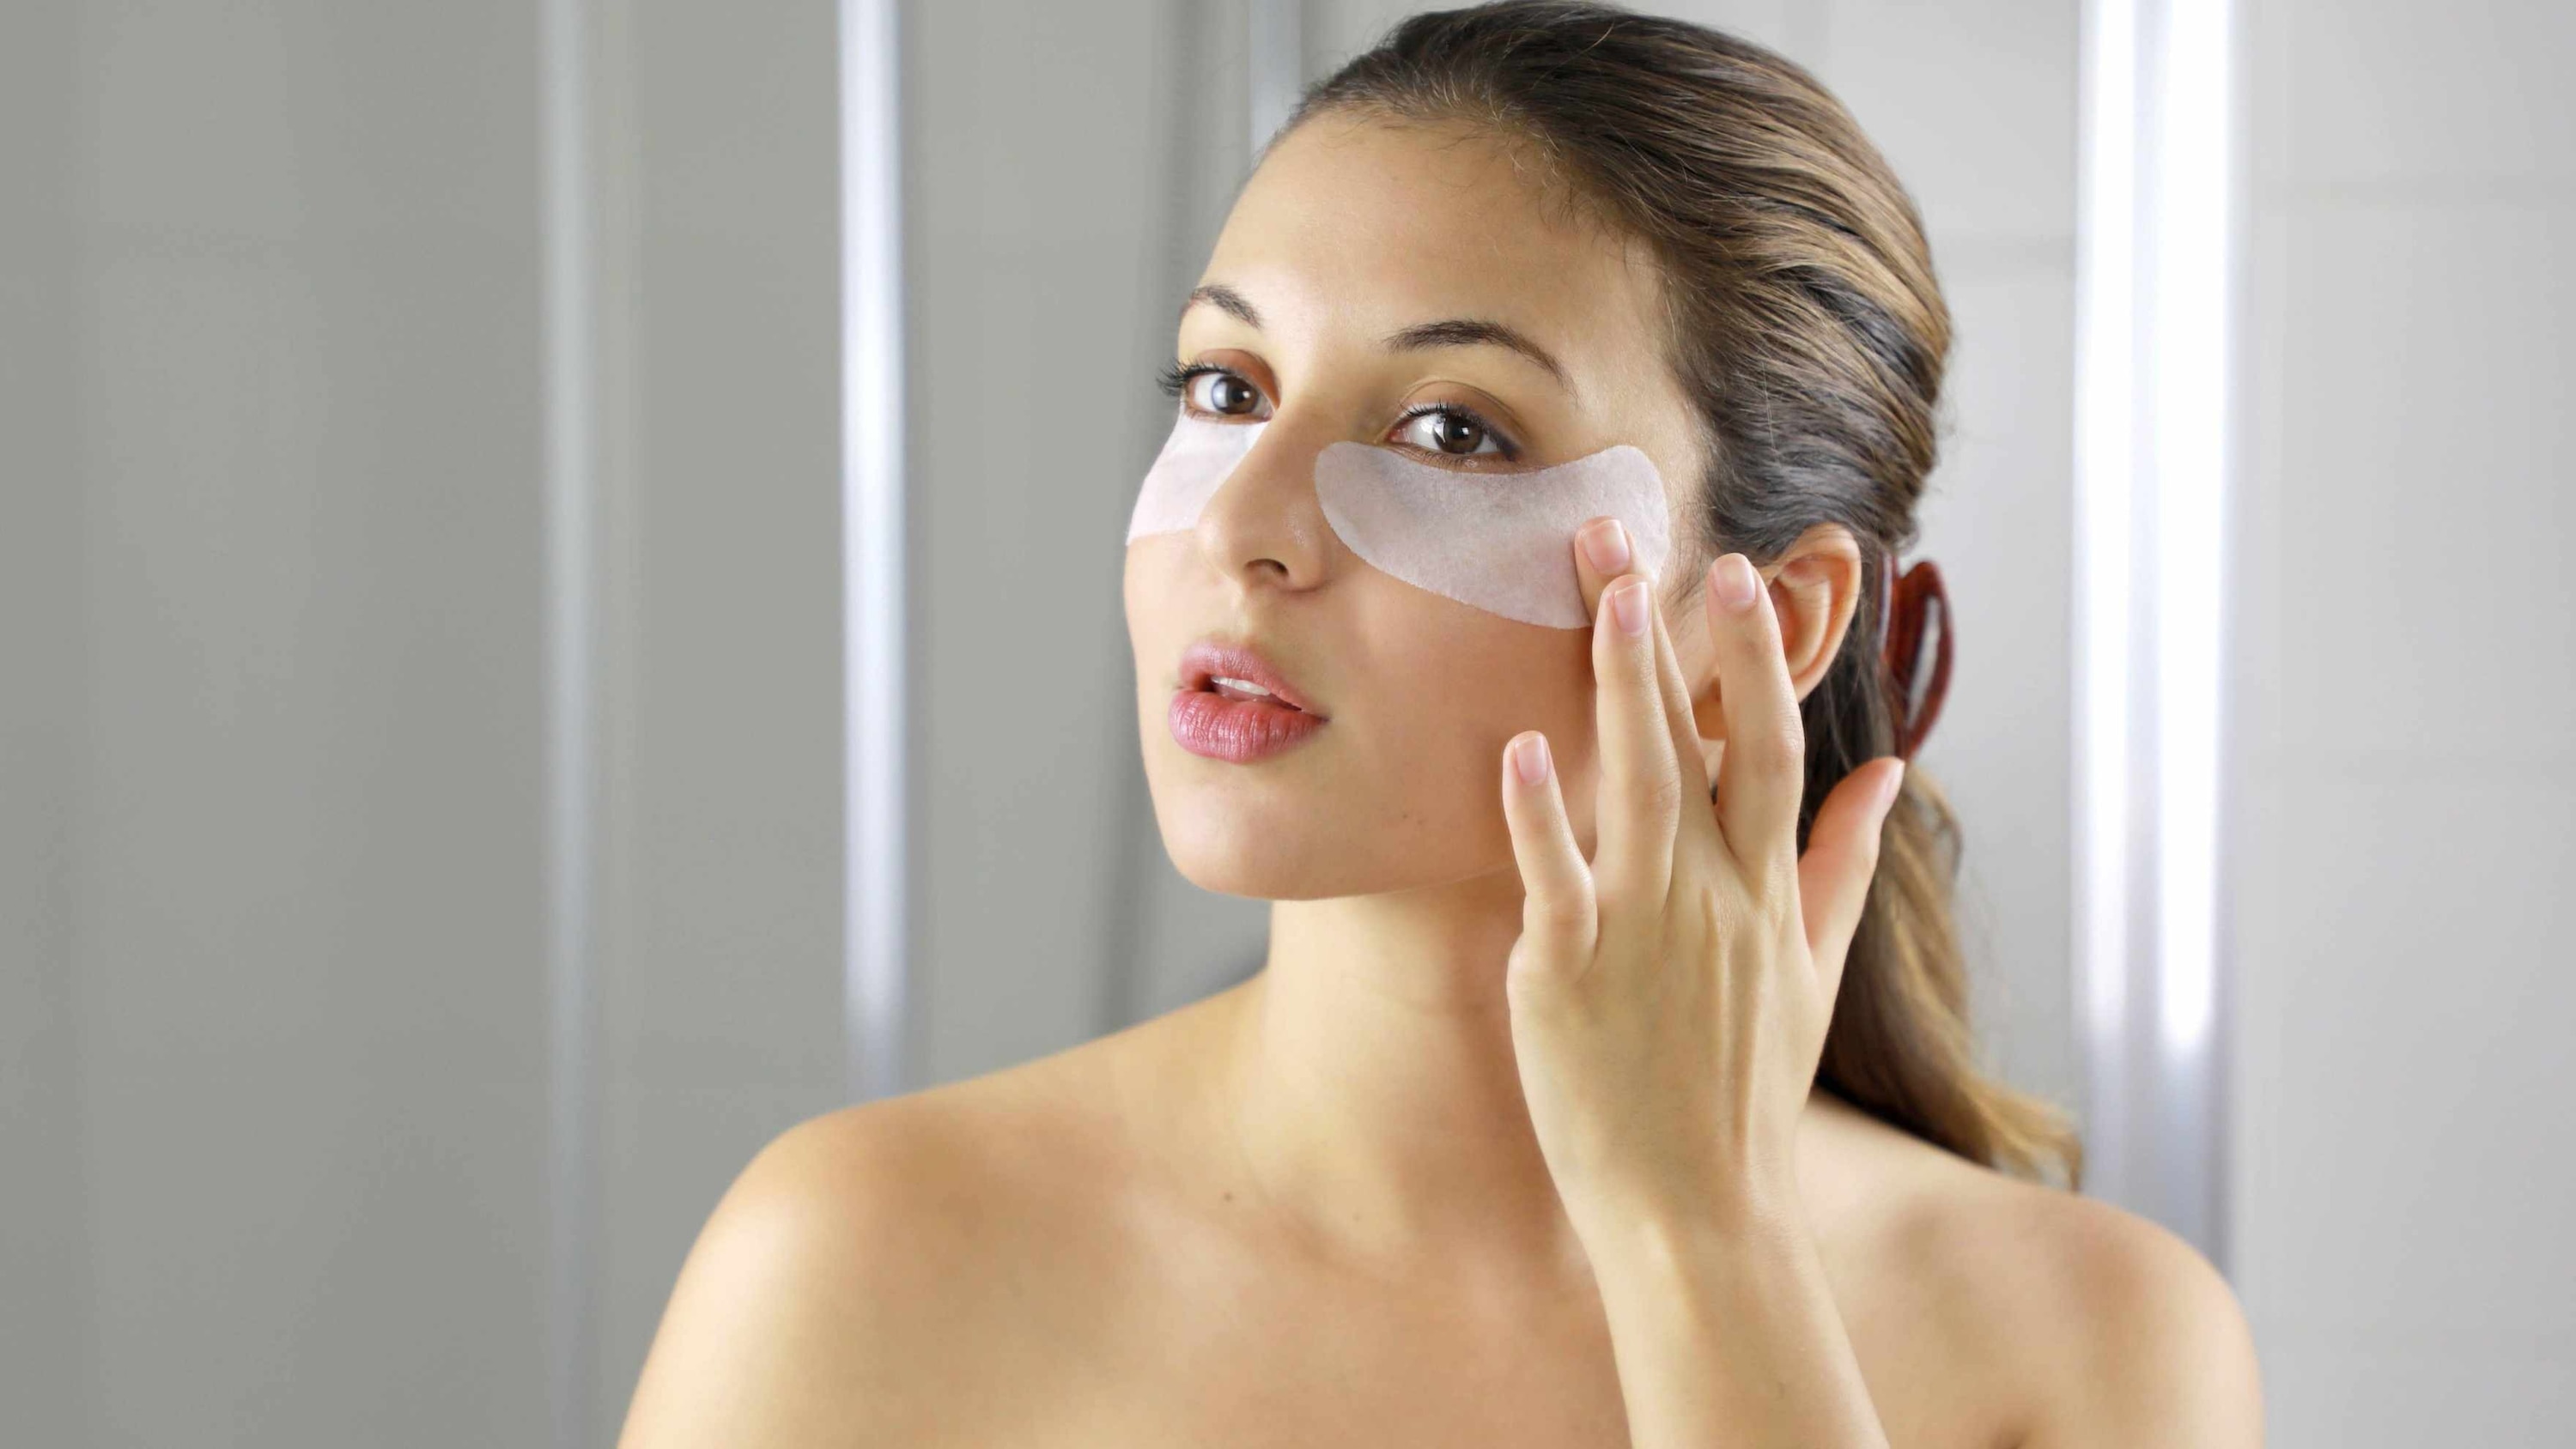
A well prepped canvas gives you flawless makeup. Needless to say, it starts with the skin. So, cleanse well and hydrate even better. But we're going a couple of steps beyond just applying your moisturiser as part of your skin prep. Chandani Malik , a renowned professional makeup artist shares, "many people don't pay attention to prepping the skin. It doesn't matter if you're doing professional or personal makeup, this is the key to ensuring your makeup looks last long. I personally take 20 minutes just to prep the skin." The pre-glam ritual depends on your skin type. A good place to start is by opting for non-comedogenic products. "If you have dry skin for instance, use a sheet mask before going in with your makeup." Taking time to prep the skin means taking care of the under eyes and lips as well. Makeup maestro Bianca Louzado , who has been trained under Sir John (Beyoncé's makeup artist) shares her secret to skin prep. "I always use a combination of sheet masks, under eye hydrating patches, Gua sha, ice rollers, primer, serum and moisturizer, depending on the skin type I'm prepping." The important part is to make sure that the products you're using are suited for your skin. Depending on your skin type, your pre-glam ritual should include a tailored routine. Choosing non-comedogenic products is a good starting point to ensure your skin stays healthy underneath the makeup. Here's how to break it down:
- Cleanse: Start with a gentle, effective cleanser to remove any dirt, oil, or leftover product. Clean skin allows makeup to adhere better and prevents clogged pores.
- Exfoliate: Buff away dead skin cells 2–3 times a week (or as suitable for your skin) to reveal a smoother surface. This step ensures your foundation goes on evenly and doesn't cling to dry patches.
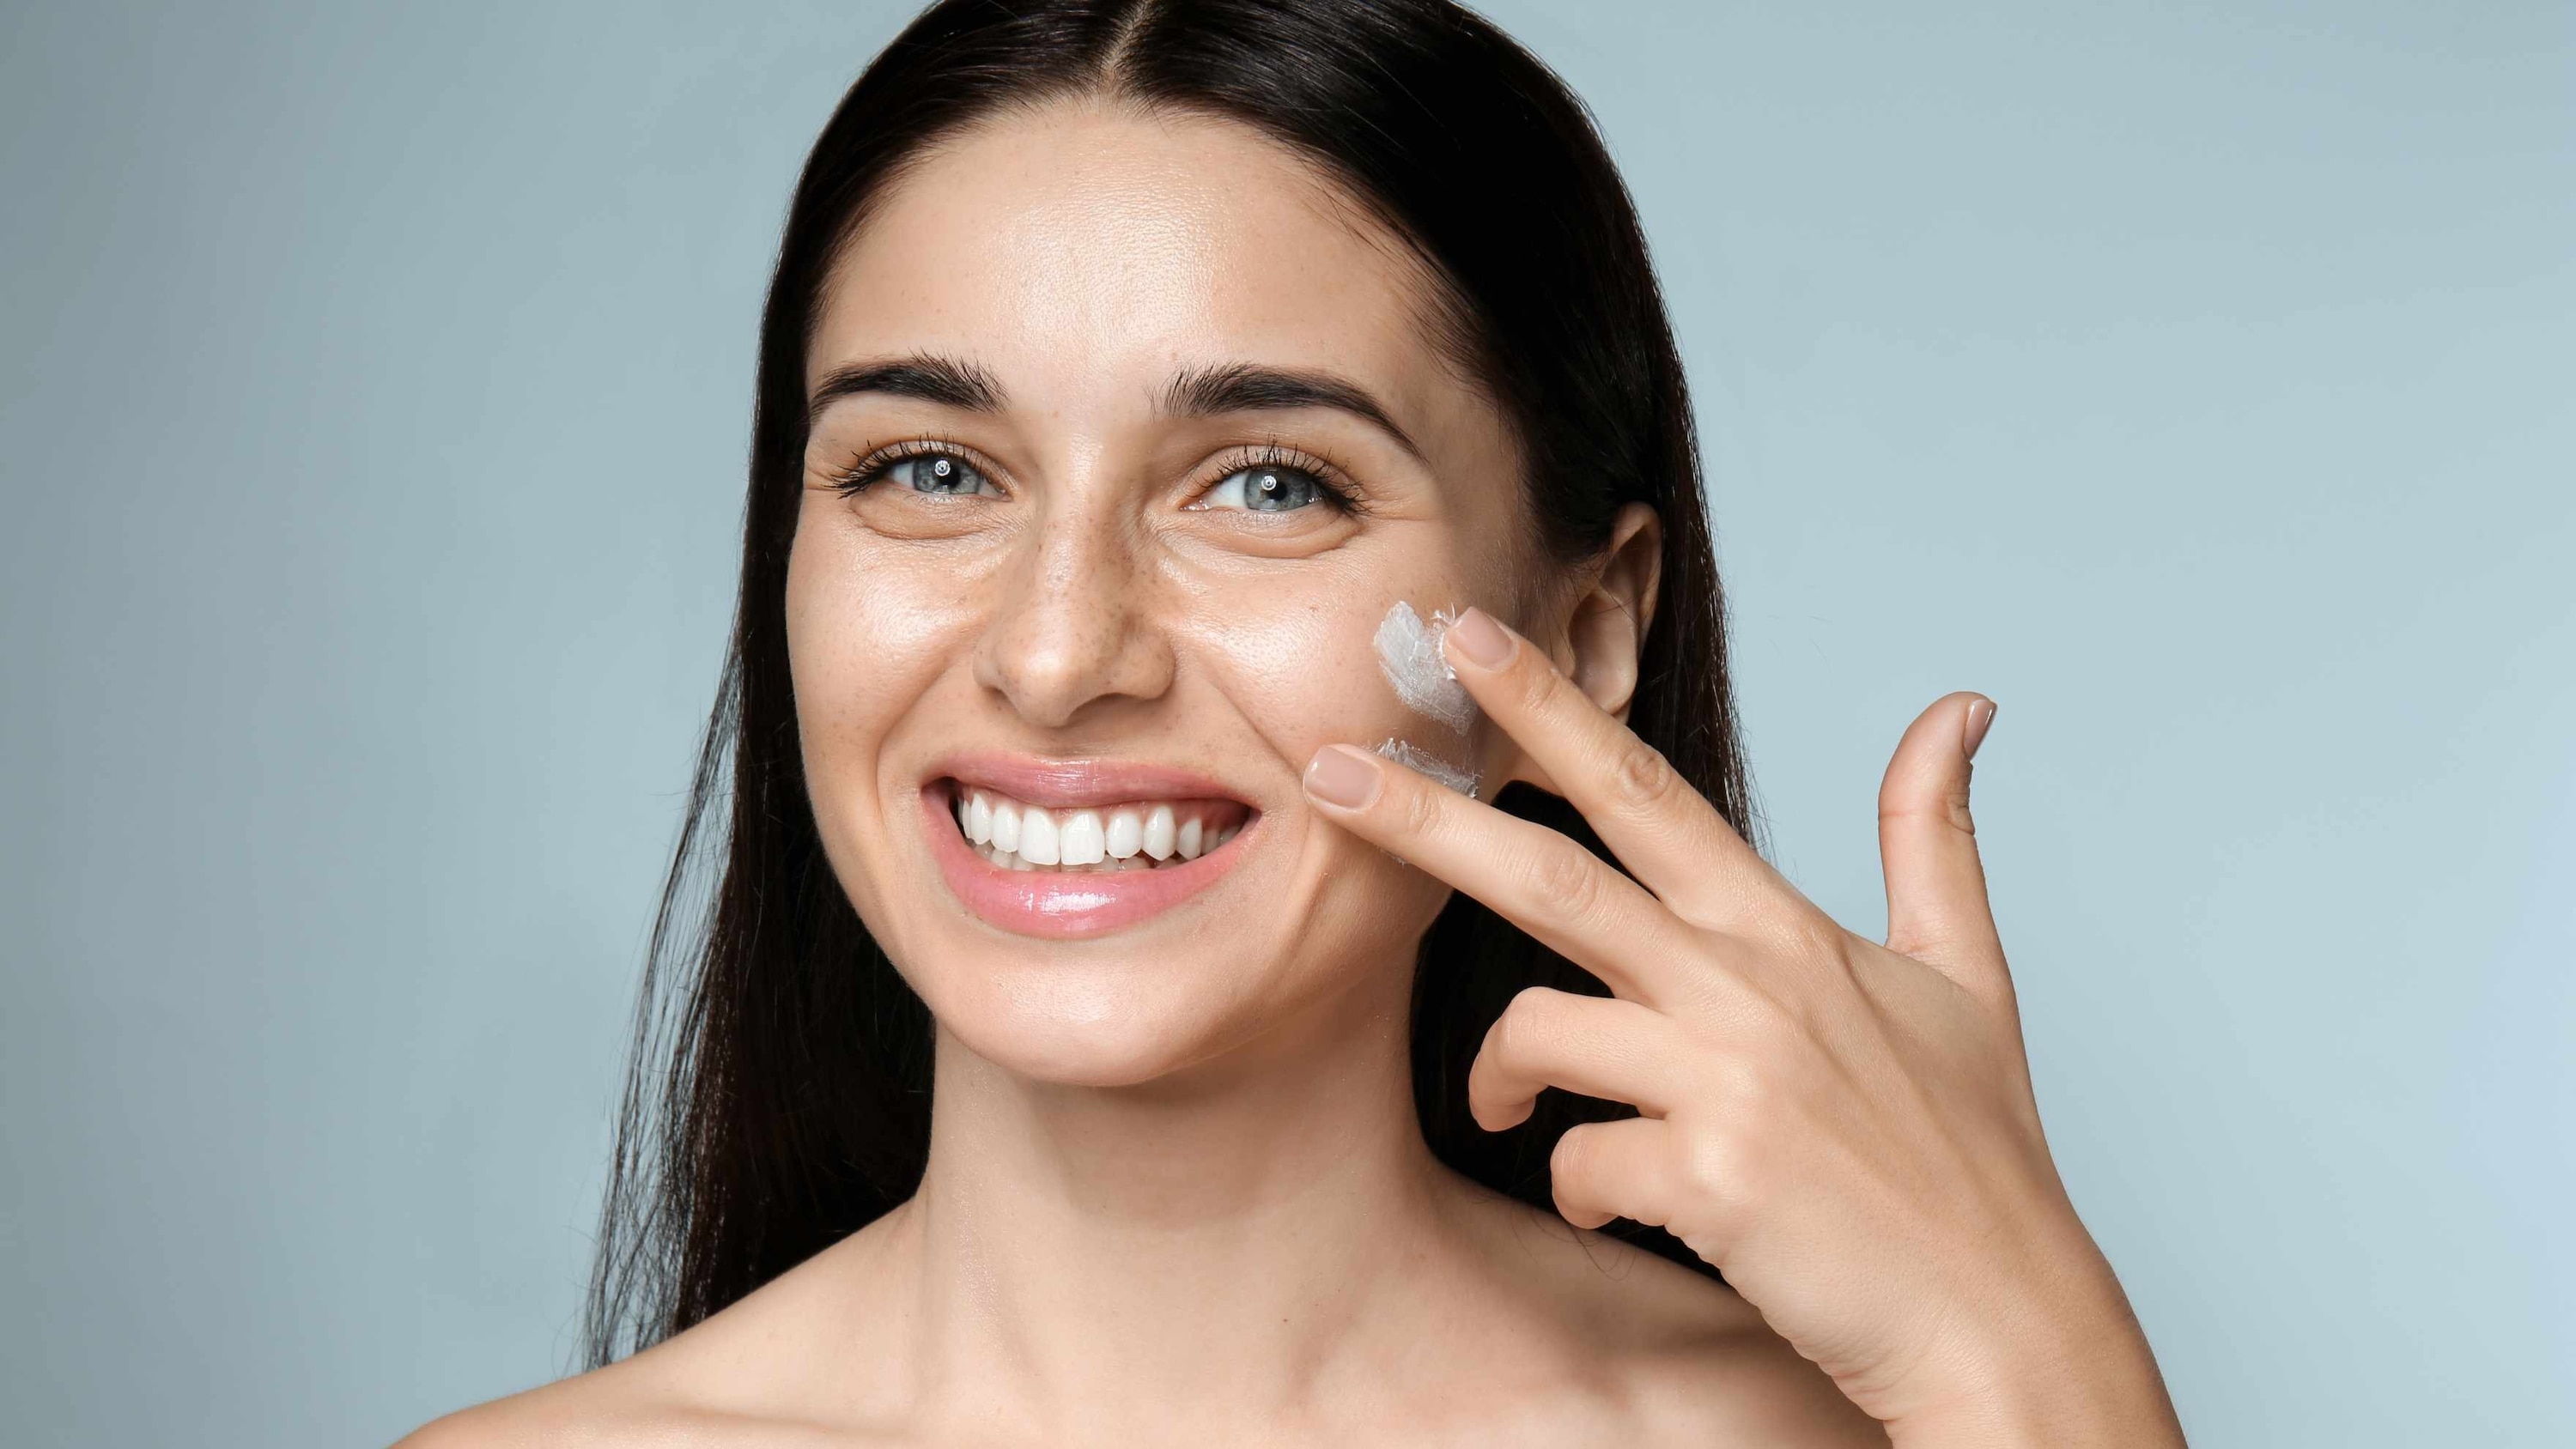
- Moisturize: Hydration is key. Use a moisturizer suited to your skin type, and don't forget to treat often-neglected areas like the under eyes and lips. If you have dry skin, consider using a sheet mask beforehand to plump and prep.
02Step 2: Back to Base
Now that you've spent time prepping your skin, you've laid the perfect base for makeup that not only looks good but lasts. Hydrated, well-prepped skin keeps foundation from cracking or clinging to dry patches, while also minimizing the appearance of pores and uneven texture. Here's how to build on that glow:
- Primer: Think of primer as your makeup's grip. It blurs imperfections, evens out skin texture, and creates a smooth canvas so your foundation glides on seamlessly. The Lakmē Unreal Blur Perfect Primer is a great pick—it fills in fine lines, controls oil, and gives your skin a soft-focus finish that helps makeup stay put for hours.
- Benefits of Primer:
- Minimizes pores and blurs fine lines
- Helps foundation last longer
- Controls shine and smoothens texture
- Enhances overall makeup finish
- Foundation: Choose a foundation that complements your skin type—whether it's dry, oily, or combination. If you're looking for a foundation for oily skin, opt for lightweight, mattifying formulas that control shine without clogging pores. The Lakmē 9 to 5 CC Cream is a multitasking favorite. It hydrates, evens out skin tone, and feels ultra-light on the skin. If you're aiming for a flawless, matte finish, the Lakmē Xtraordin-airy Mattereal Mousse Foundation offers an airy texture that blends like a dream and delivers that photo-ready look.
03Step 3: Conceal & Correct
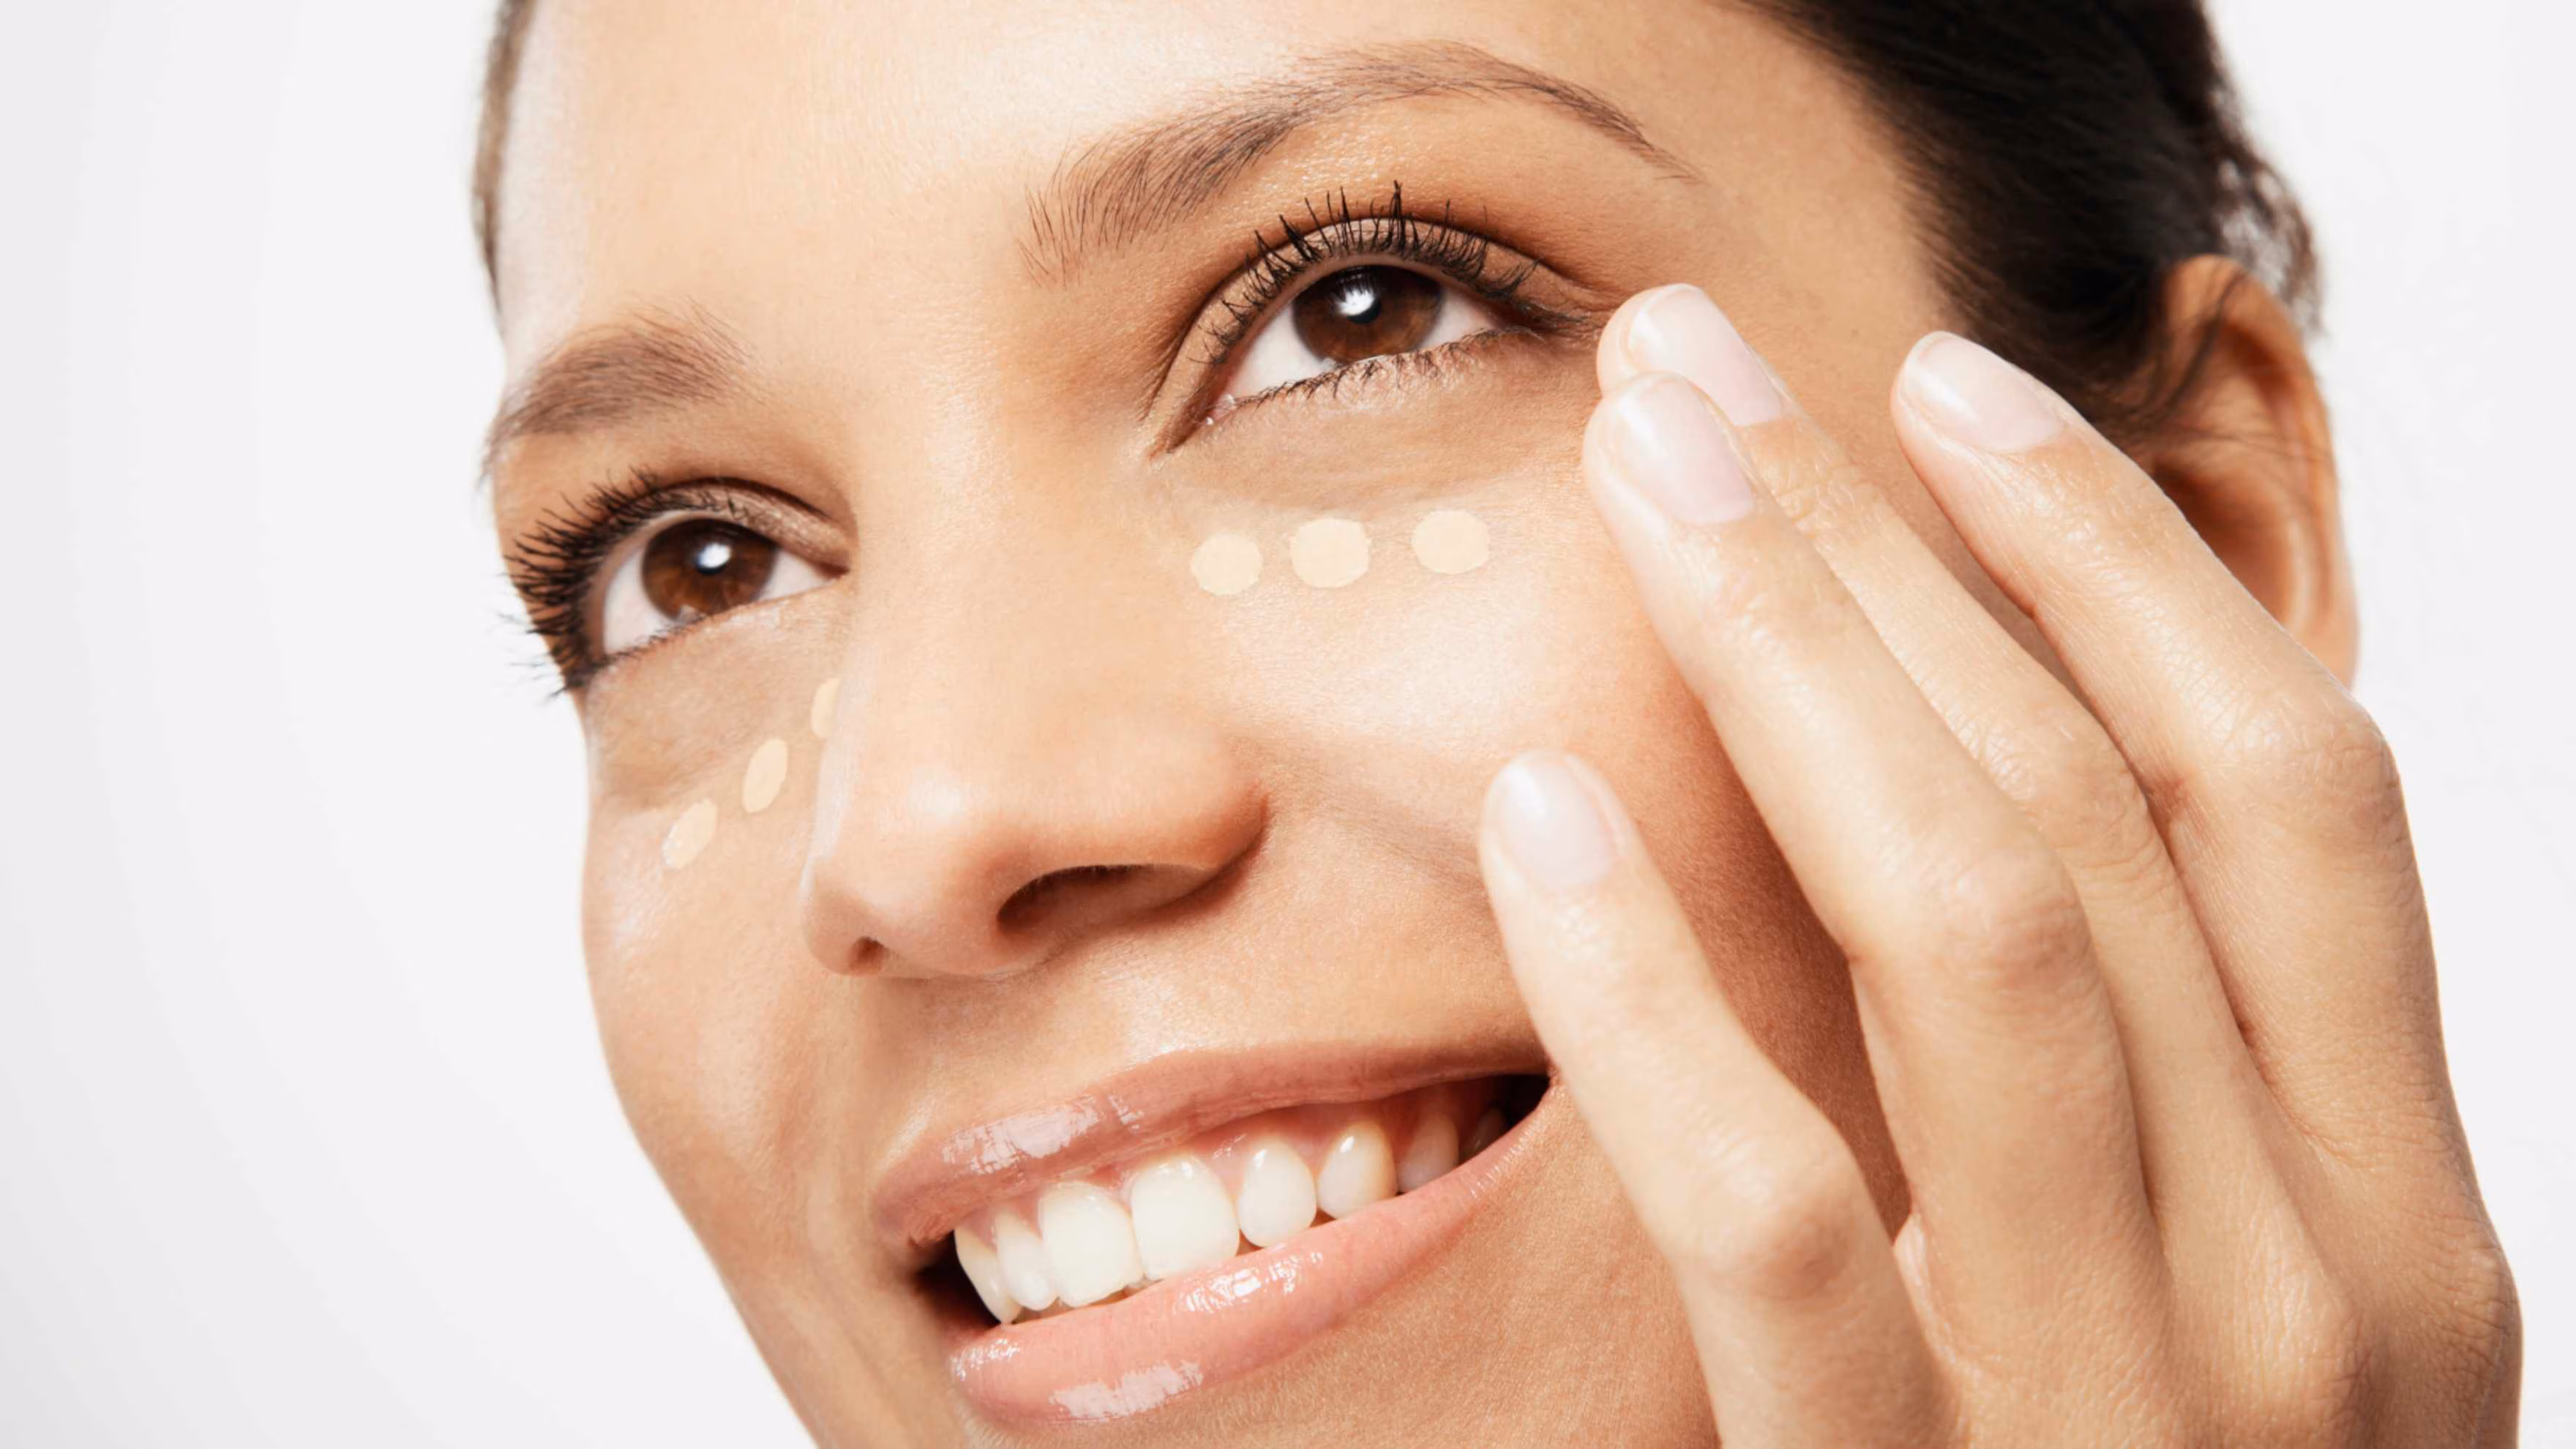
- Concealer : A high-coverage, long-wear concealer is your best friend when it comes to hiding under-eye circles, blemishes, and redness. Whether you prefer a liquid or cream formula, let it sit for a few seconds before blending to boost coverage and staying power. For easy, on-the-go touch-ups, the Lakmé Absolute Instant Airbrush Concealer Pen is a must-have. It's compact, travel-friendly, and delivers a soft, airbrushed finish in seconds—perfect for quick fixes throughout the day..
- Color Corrector: For stubborn dark circles, pigmentation, or redness that peeks through even after concealing, a color corrector can make all the difference. Use peach or orange tones to neutralize dark under-eyes, green to counteract redness, and lavender to brighten dull areas. Apply a thin layer before concealer for a smooth, even-toned base that enhances your overall makeup finish.
04Step 4: Set With Powder

Bianca discloses a makeup technique that she has been experimenting with recently. "Off late I've been trying out the new trend of layering your make up. It starts with using a setting spray first, then a light dust of translucent powder and then foundation. I find that this technique makes the make up last much longer as compared to the traditional way of doing it."
05Step 5: Eye Makeup (Perfecting Your Eye Look)
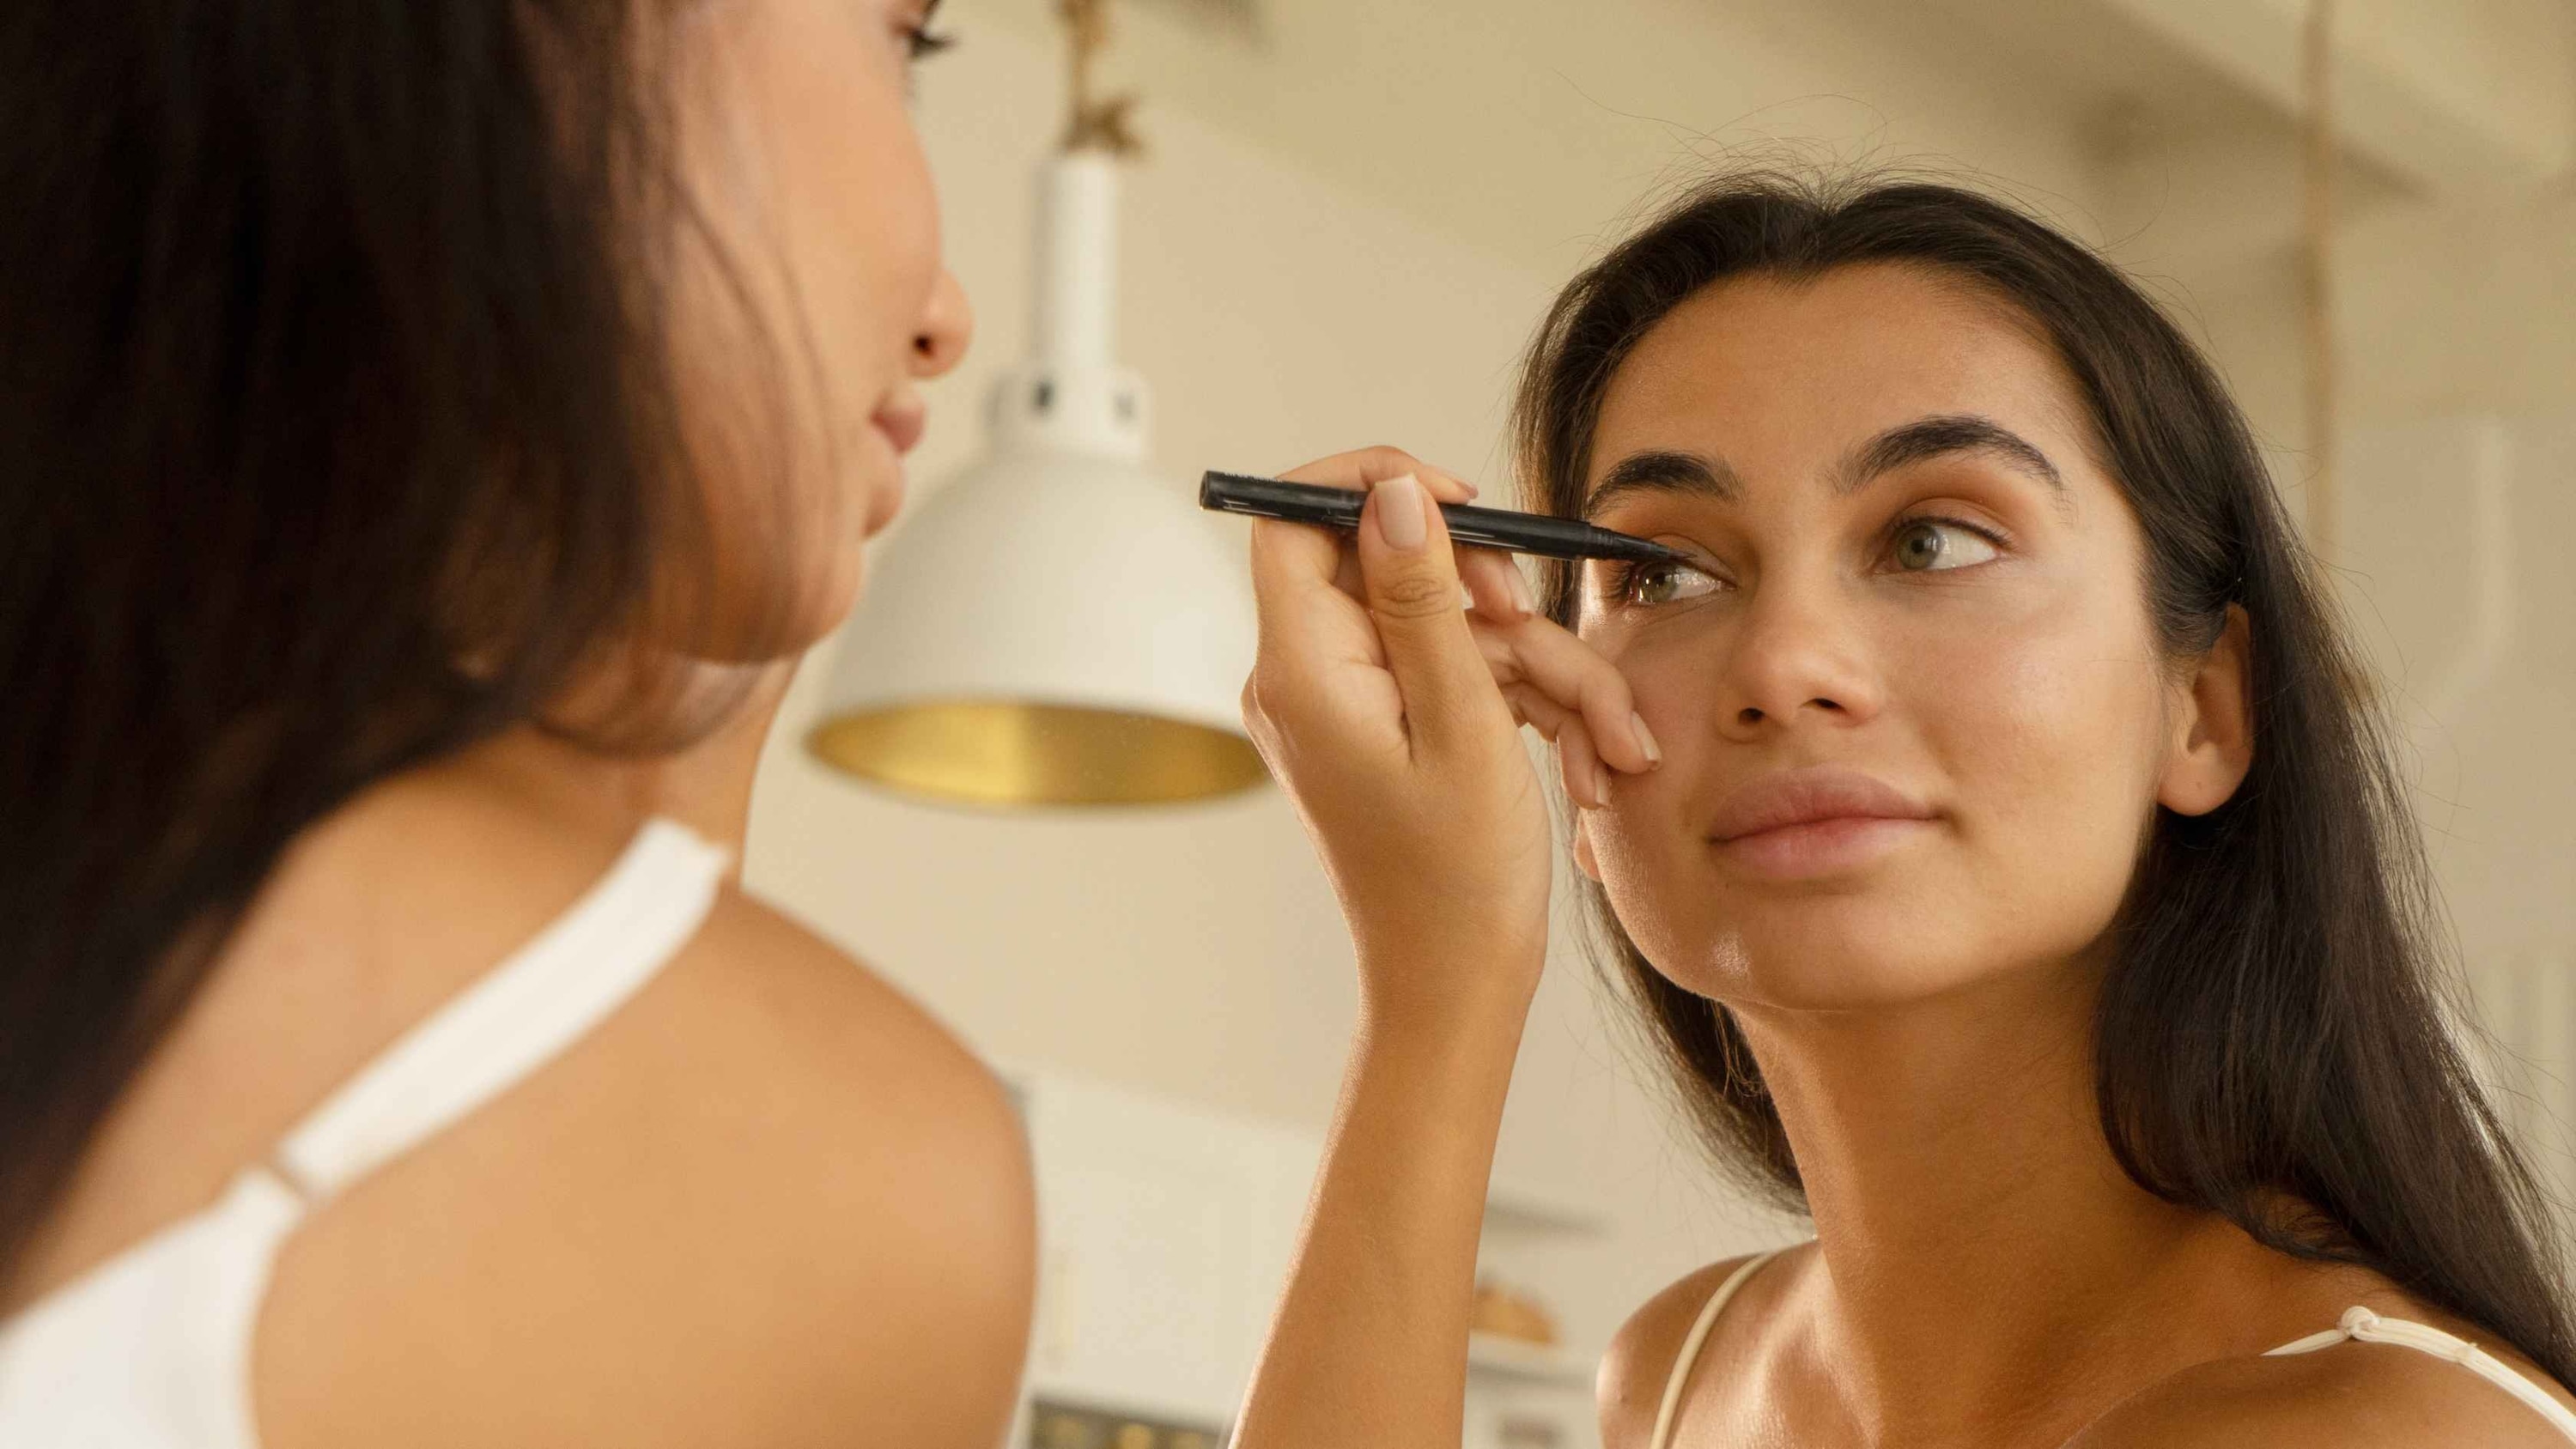
- Kajal & Eyeliner: Start by lining your waterline with a waterproof kajal like the Lakmé 9to5 Eyeconic Kajal to prevent smudging. For added depth, lightly smudge it with a black eyeshadow using a fine brush to create a soft, smokey effect. This also helps set the kajal, making it last longer. For your upper lash line, use a liquid or gel eyeliner for a clean, defined look.
- Eyeshadow: Build dimension using complementary shades—start with a neutral base, deepen the crease with a darker tone, and add shimmer or glitter to the center of the lid for a pop. Blend well for a seamless transition between colors. For long-lasting wear, don't forget to apply eyeshadow over a primed lid.
- Mascara: A volumizing and lengthening mascara opens up your eyes instantly. Wiggle the wand at the base of your lashes and pull upward to evenly coat. Apply two coats to top lashes, and one light coat on the bottom to avoid smudging.
- Brows: Well-groomed brows complete your eye makeup steps. Fill in sparse areas with a brow pencil or powder, following your natural shape. Use a spoolie to blend and finish with brow gel to hold everything in place.
Pro Tip:
Carry a Q-tip and a bit of compact powder in your bag for a quick touch up.
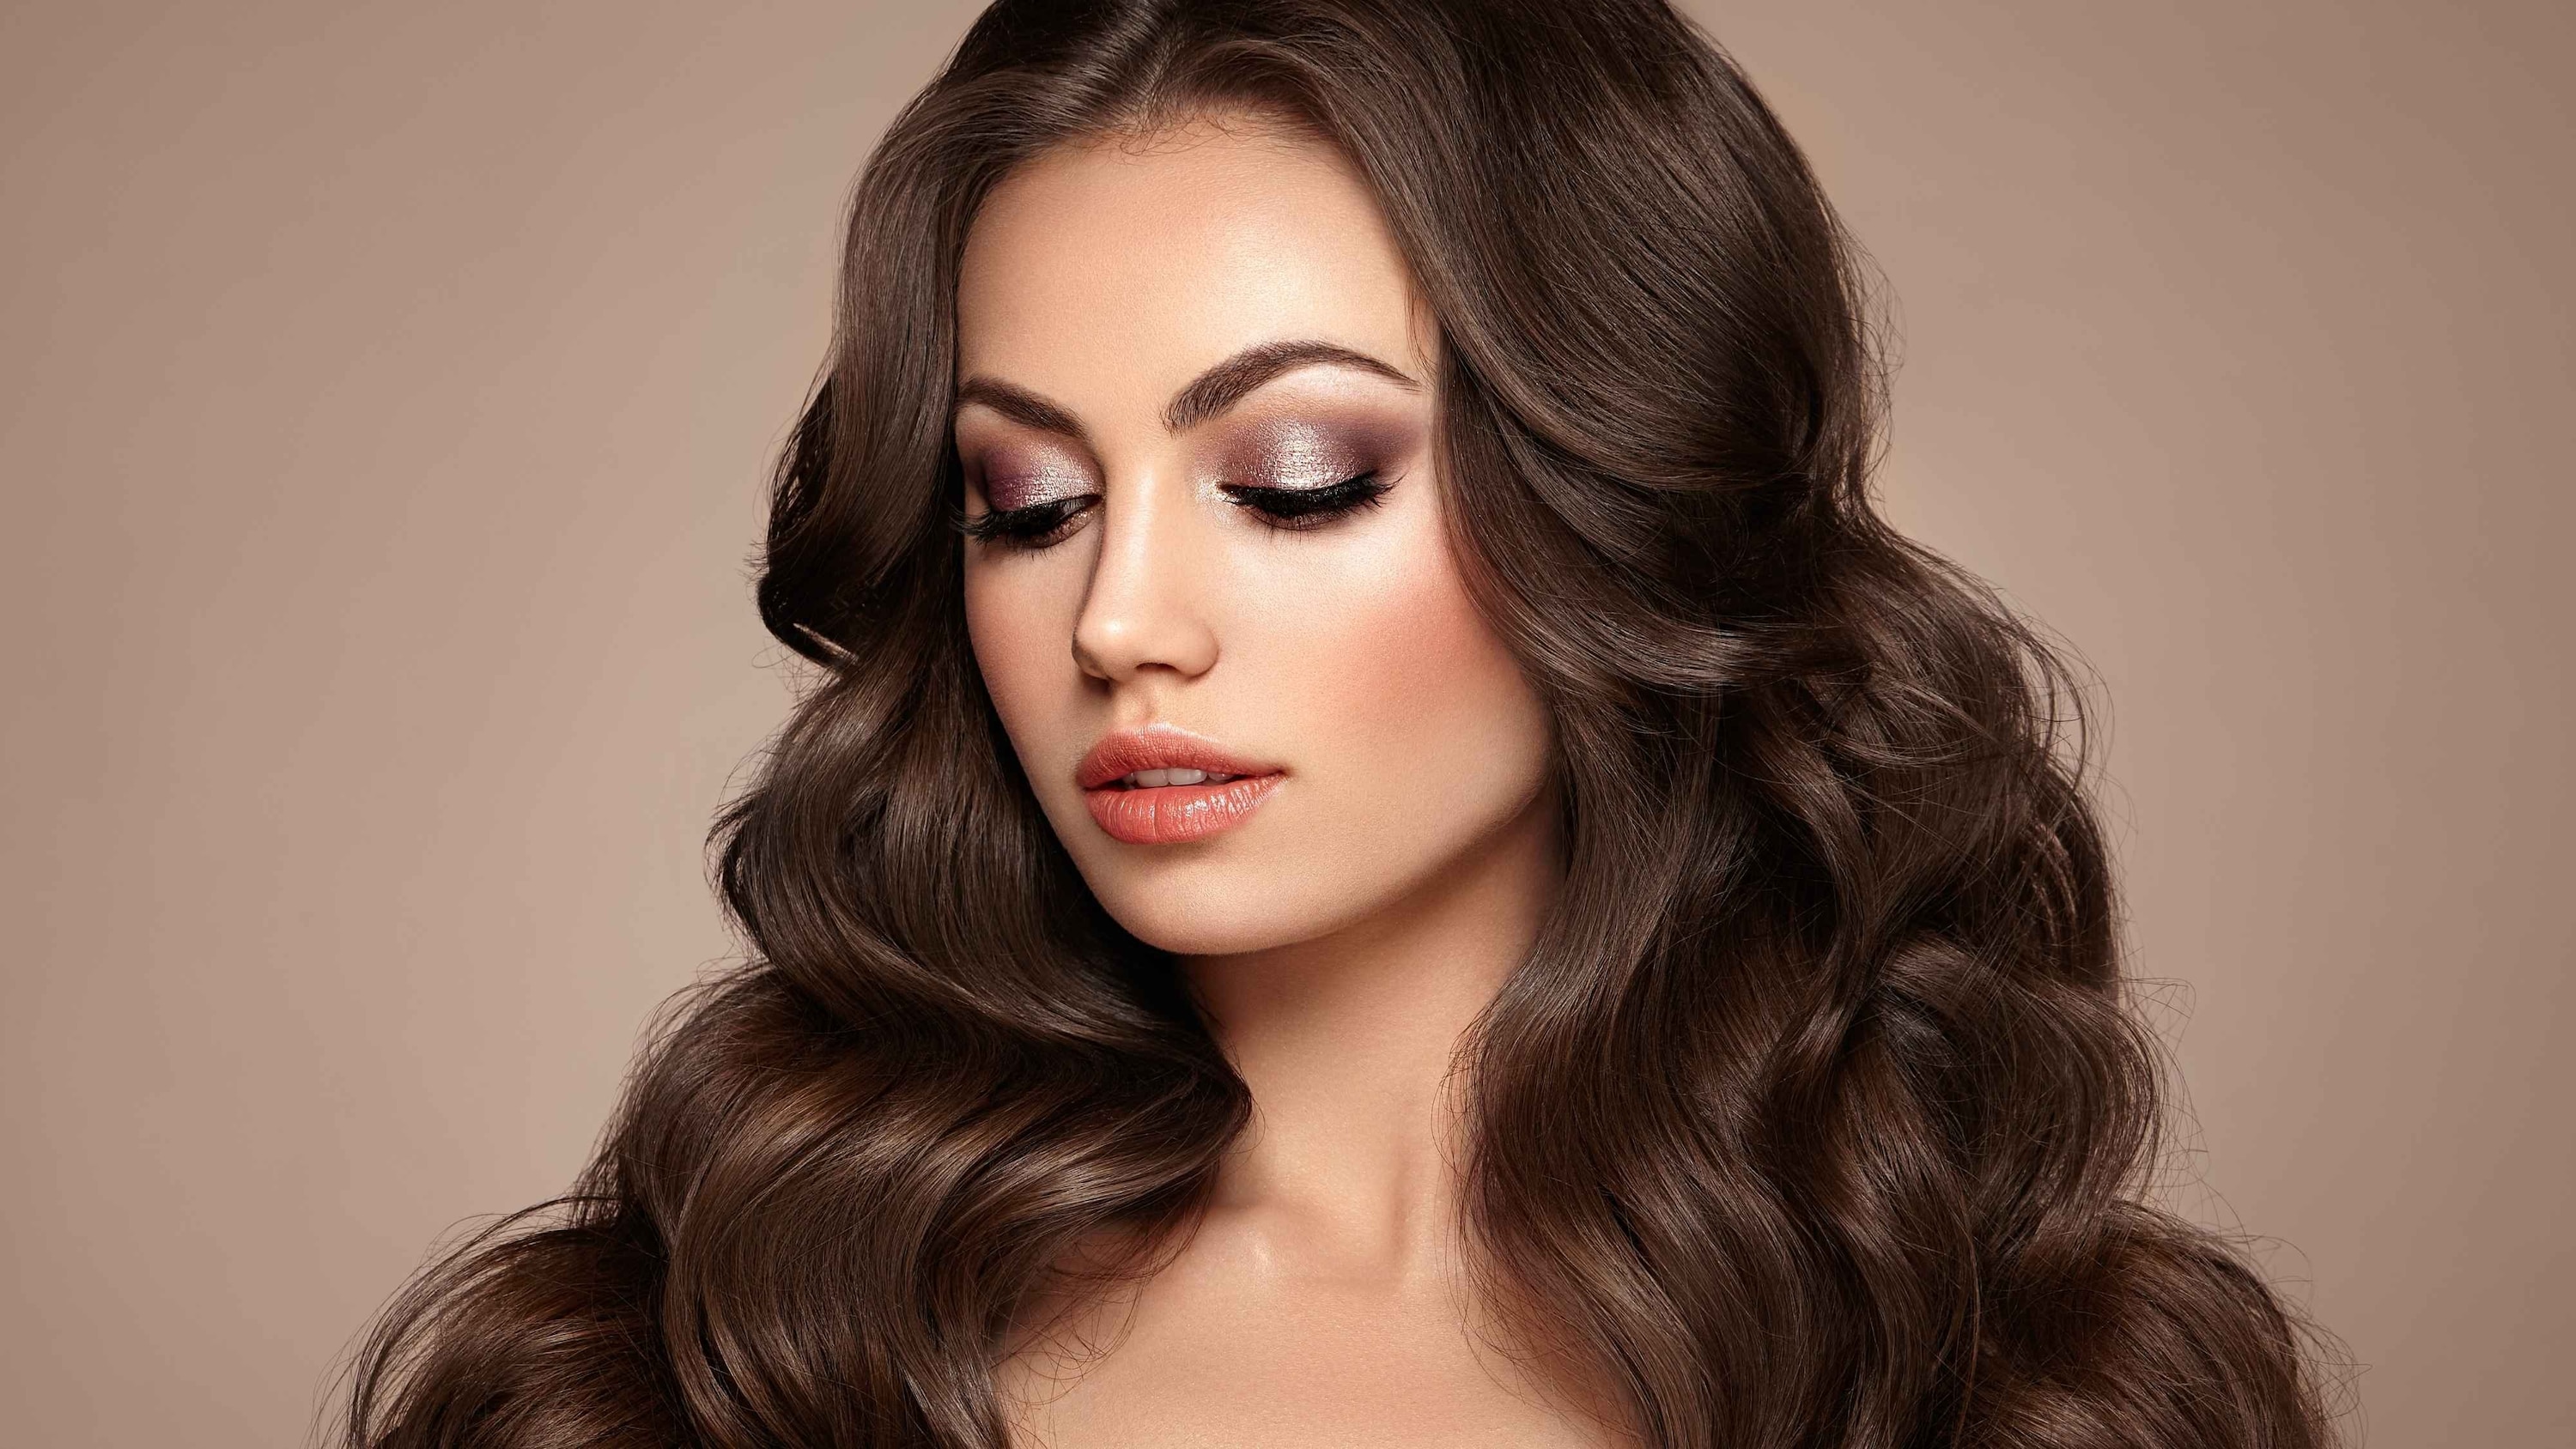
06Step 6: Face, Cheeks & Lips (Add Dimension to Your Face)

Once you've applied the translucent powder or compact, whatever works for you, now it's time to go in with your cheek products. Bianca shares, "This is something I learnt early on from my mentor Sir John – each cream blush or cream contour must be reinforced with a powder version of it for it to last longer." When asked how I can ensure a long lasting makeup look and dewy skin at the same time, she explained that using extra powder all over the face is absolutely passé. "I would suggest hydrating the skin really well and then using a long lasting yet dewy finish foundation. Combine it with a cream blush, cream-based contour, and strategically set the under eyes with a gentle touch of powder."
- Contour: Contouring adds dimension to your face by creating natural-looking shadows. Use a cream or powder contour that's one to two shades deeper than your skin tone. Apply it to the hollows of your cheeks, jawline, and sides of the nose for a sculpted effect. Blend well to avoid harsh lines—subtle definition is key!
- Blush: Blush brings life and warmth back into the skin after foundation and contour. Choose a shade that complements your skin tone—soft pinks, peaches, or mauves work beautifully for bridal looks. Smile and sweep the blush across the apples of your cheeks, blending it slightly upward toward the temples.
- Highlight: To achieve that radiant bridal glow, highlight the high points of your face—cheekbones, brow bones, the bridge of your nose, and cupid's bow. Opt for a powder or liquid formula with a fine shimmer for a soft, lit-from-within finish that catches the light without looking too sparkly.
- Blend Well: The golden rule of flawless makeup—blend, blend, blend! Use a damp beauty sponge or blending brush to seamlessly fuse your contour, blush, and highlight into your base. Well-blended makeup ensures there are no harsh lines and that everything looks cohesive, natural, and camera-ready.
- Apply Lipstick: The finishing touch to your makeup routine—lipstick brings your whole look together. Choose a long-wearing formula that compliments your outfit and the occasion. For brides or all-day events, start with a lip liner to define the shape and prevent feathering, then apply your lipstick using a brush for precision. Blot and reapply for staying power. Whether you go bold or keep it nude, a well-applied lip is the perfect final step in your steps for makeup routine.
07Step 7: Setting Spray (Locking Your Makeup in Place)
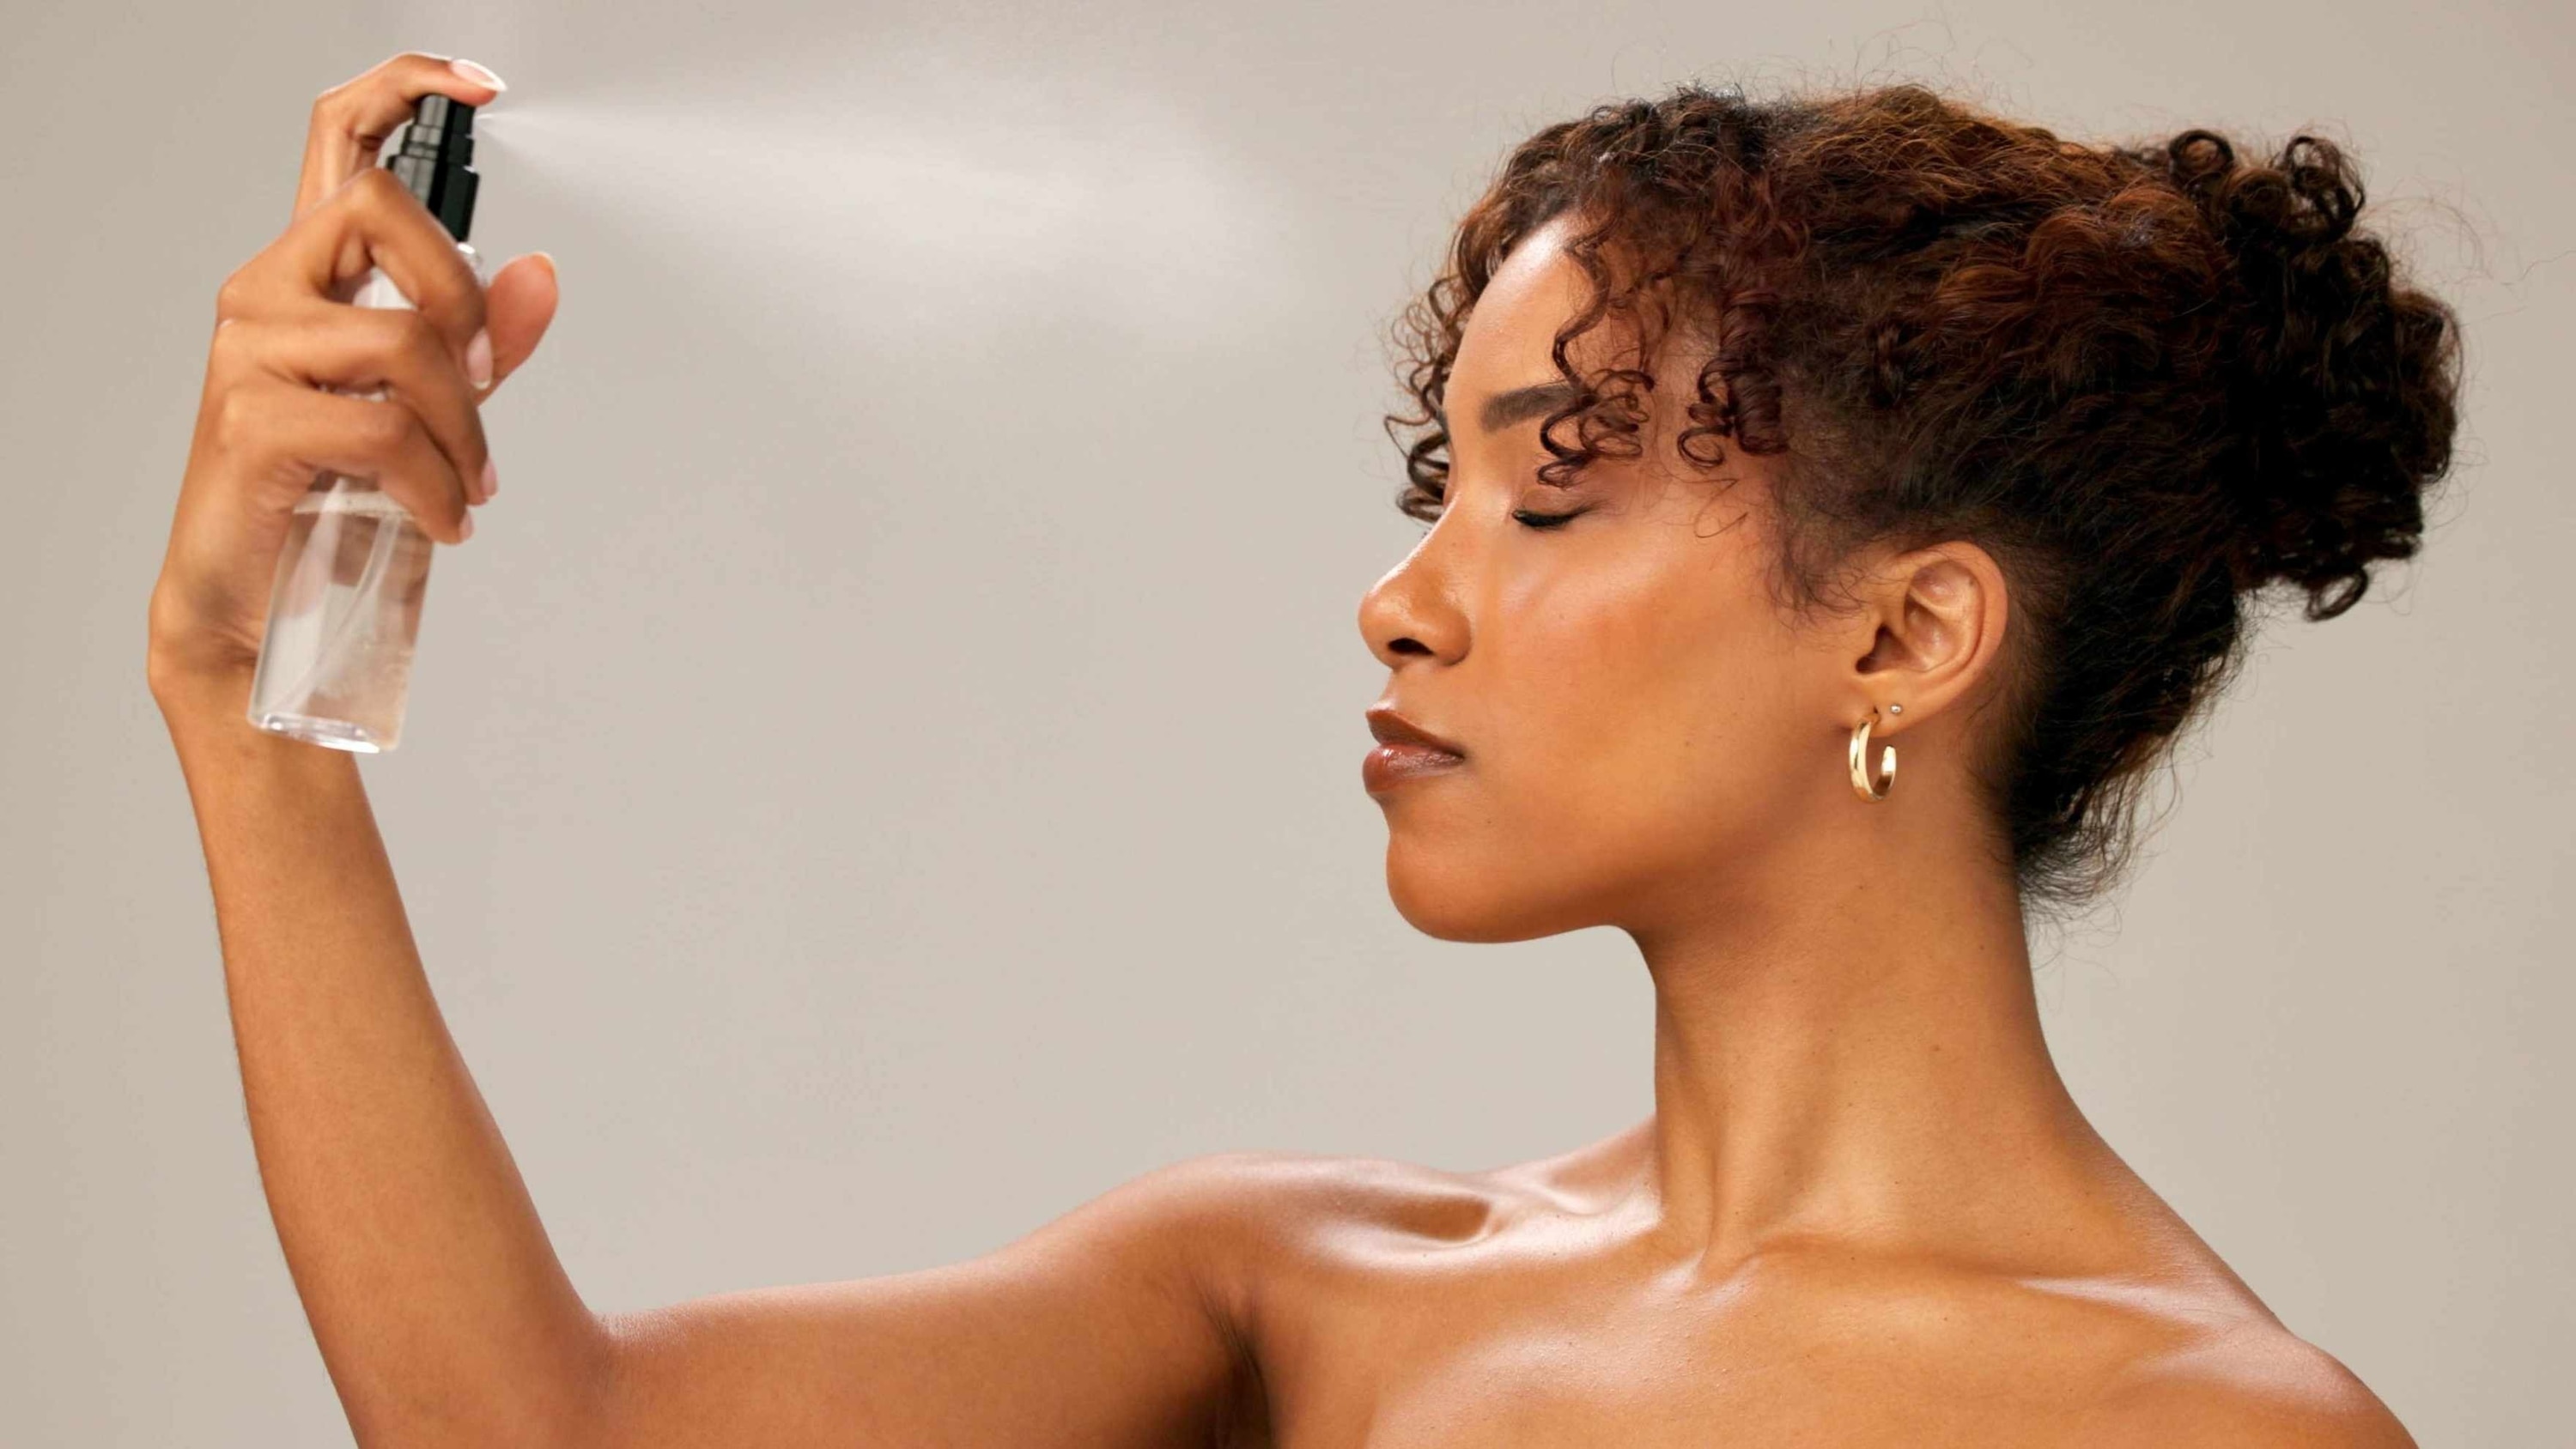
To me, setting spray is the solution to all steps of makeup I've messed up before reaching here. Bianca suggests using finishing spray in between each look to set the makeup even better. When setting makeup for oily skin, she recommends using a blotting paper to blot away excess oil. "Use it on your T-zone. After blotting, lightly dust a mattifying powder over oily areas to reduce the shine. Finally use an oil-free setting spray." It's important to note that even your choice of setting spray must be in agreement with your skin type. For dry skin, you can use a hydrating facial mist to refresh the skin. "Always use cream-based products like blushes and highlighters during touch-ups on dry skin", she adds. Combination skin must be dealt with a combination of cream and powder products, while blotting excess oil from your T-zone, just like for oily skin. Lakmē VitC Super Glow Skin Perfecting Makeup Fixer is a hydrating formula that has Vitamin C for brightening and Niacinamide for nourishment. It also doubles as a shield against water, sweat and heat locking in your radiant glow wherever life takes you.
08To Touch it Up
Chandani reaffirms that one of the biggest mistakes that you can make is inadequate skin prep. With the right products and a well hydrated, clean skin, you've paved your way to a long-lasting makeup look. So, all you need to remember is – choose products that are for your skin type, really prepare your skin before makeup application and don't be shy to carry a mini setting spray and items to touch up your makeup in between events.
09Expert Tips for Extra Long-Lasting Makeup:
- Layer cream and powder products: Build longevity by layering—a cream blush followed by powder blush, or cream contour with a powder bronzer helps lock in pigment.
- Use a setting spray in between steps: Instead of just spritzing at the end, lightly mist a setting spray between layers (foundation, blush, etc.) to help each layer stay put.
- Blot, then set: If you have oily skin, gently blot with a tissue before applying powder. This prevents cakiness and helps powder set more effectively.
- Avoid over-moisturizing before foundation: Let your moisturizer absorb fully (wait 5–10 minutes) before applying foundation to avoid pilling or slippage.
- Choose long-wear formulas: From your base to your lipstick, opt for long-wear or transfer-proof products if you're aiming for day-to-night glam.
- Press, don't swipe: When applying foundation or powder, press the product into the skin using a damp sponge or brush. This technique ensures better adherence and minimizes movement.
- Touch up strategically: Carry blotting papers, a compact powder, and your lip product for quick touch-ups that don't disrupt your makeup.
10Meet The Experts:
- Bianca Louzado is India's leading celebrity and bridal makeup artist and hairstylist. She is also the founder of Code Beauty and Masters of Makeup. She has worked with the likes of Priyanka Chopra Jonas, Radhika Ambani, Kim Kardashian, Gauri Khan, Riddhima Kapoor Sahni, among others.
- Chandani Malik is a renowned professional makeup artist who has worked with numerous A-list brides and fashion brands globally.
11FAQs
1. What is the key to making makeup last all day?
A good skincare prep routine (cleansing, moisturizing, priming) paired with long-wear and waterproof formulas is essential. Setting your makeup with powder and spray helps lock everything in.
2. Should I moisturize oily skin before makeup?
Yes! Even oily skin needs hydration. Choose a lightweight, oil-free, or gel-based moisturizer to ensure your makeup sits well and doesn't slide off.
3. How do I touch up my makeup throughout the day?
Use blotting papers for oil control, a compact powder for quick touch-ups, and reapply lipstick or gloss as needed. A mini setting spray also helps refresh the look.
4. Does layering makeup help it last longer?
Yes, strategic layering — like using cream blush under powder blush or a lip liner under lipstick — creates dimension and holds pigment longer.